Magnavox MBP5320 Bedienungsanleitung
Stöbern Sie online oder laden Sie Bedienungsanleitung nach Blu-Ray-Player Magnavox MBP5320 herunter. Magnavox MBP5320 User's Manual Benutzerhandbuch
- Seite / 63
- Inhaltsverzeichnis
- FEHLERBEHEBUNG
- LESEZEICHEN
- Built-in WiFi 1
- CONTENTS 2
- 1. INTRODUCTION 3
- 2. FEATURES 4
- 2.2. Product Info 5
- 3. FUNCTIONAL OVERVIEW 6
- 3.3. Remote Control 7
- 4. CONNECTIONS 10
- AUDIO IN 11
- 4.3. HDMI Audio¬Output 12
- VIDEO OUT AUDIO OUT 13
- HDMI OUT 13
- Please Wait 15
- 6. INFORMATION ON PLAYBACK 17
- DVD-video 19
- BD-video 19
- 6.2. Guide to File List 20
- 6.3. How to Insert a Disc 21
- 7. BASIC PLAYBACK 22
- 8. SPECIAL PLAYBACK 26
- 8.4. Repeat Playback 27
- 8.5. Slide Show 27
- 8.6. PiP (BONUSVIEW™) Setting 28
- 8.8. Title / Chapter Search 29
- 8.9. Track / File Search 29
- 8.10. Time Search 30
- 8.11. Switching Subtitles 30
- 8.13. Switching Camera Angles 32
- 8.14. Black Level 32
- 8.15. Noise Reduction 33
- 8.16. CLEAR+ 33
- 9. NETWORK FEATURES 34
- 10. LIST OF SETTINGS 35
- 11. SETUPS 38
- Please input the IP Address 39
- Return Clear OK 39
- IP Address 39
- Push Button Method 40
- PIN Code Method 40
- 11.2. fun-Link (HDMI CEC) 43
- 11.3. HDMI Video Resolution 43
- 11.4. Parental 44
- RATING EXPLANATIONS 45
- 11.5. Software Update 46
- 12. TROUBLESHOOTING 48
- Problem Tip 49
- 13. LANGUAGE CODE LIST 52
- 14. SPECIFICATIONS 53
- 16. MAINTENANCE 55
- 17. TRADEMARK INFORMATION 56
- 18. GLOSSARY 58
- 19. ESPAÑOL 60
- 19.3. Instalacion Inicial 62
- / ECD09UH 63
Inhaltsverzeichnis
Owner’s ManualMBP5320Blu-ray Disc™ / DVD Player with Built-in WiFi© 2013 Funai Electric Co., Ltd.
EN - 104. CONNECTIONS4.1. Connection to a TV HDMI Connection (Supports up to 1080i(*1), 1080p(*2), 1080p/24(*3) resolution.)No analog audio connectio
EN - 11EN4.2. Connection to an Audio System• When you change the connections, all devices should be Turned Off.• When connecting the unit to an extern
EN - 124.3. HDMI Audio¬Output*1) Fully decoded.*2) Only the independent substream is decoded.*3) Dolby TrueHD stream is decoded.*4)Only the Dolby Digi
EN - 13EN4.4. Connection to the NetworkBy connecting this unit to the Internet, you can update the software via the Internet, play contents stored on
EN - 14 Wireless ConnectionD Note• If using the wireless connection, refer to page 40 for “Wireless Connection” to configure the network setting.• Fo
EN - 15EN5. BEFORE YOU START5.1. Finding a Viewing Video Source Input on Your TVAfter you have completed all of the connections to your TV, review the
EN - 16 How to Reset the OSD LanguageYou can reset the OSD language if you selected the wrong language.1. Press [HOME] to display the Home Menu.2. Us
EN - 17EN6. INFORMATION ON PLAYBACK6.1. Information on Playback Playable Discs and Files(*) Due to the intentional progression of the Blu-ray Disc™ f
EN - 18 Recommended SpecificationsAVCHDThis unit cannot play back stand-alone AVCHD files (*.m2ts, *.mts or *.m2t) written to a DVD or copied to an S
EN - 19EN Unplayable Media and FilesThe following discs will not be played back on this unit. Region Codes Hint for Disc PlaybackThe contents of a
EN - 2CONTENTSINTRODUCTION ... 3Safety Instructions...
EN - 20 Description for Icons[] : group (folder) icon[] : music file icon[] : movie file icon[] : photo file icon- “Folders” refers to the group of f
EN - 21EN6.3. How to Insert a Disc1. Press [(OPEN/CLOSE)] to Open the disc tray.2. Place the Disc on the disc tray with its label side facing up.3. Pr
EN - 227. BASIC PLAYBACK7.1. Playing Back a Disc 1. Insert a disc (refer to “How to Insert a Disc” on page 21).• For Blu-ray Disc™ / DVD / audio C
EN - 23END Note for JPEG / KODAK Picture CD Playback• Every press of [] will turn the image by 90 degrees when an image is displayed.• During playback
EN - 247.3. Playing Back Video / Music / Photo from DLNA Certified Home Media ServersOn this unit, you can play video, music and photo files stored on
EN - 25END Note• For the Media Server list, maximum of 10 servers can be displayed.• The system can recognize up to 2,000 files (including folders).•
EN - 268. SPECIAL PLAYBACK8.1. Fast Forward / Fast Reverse1. During playback, press [(FORWARD)] repeatedly for Fast Forward.During playback, press [(R
EN - 27EN8.4. Repeat PlaybackAvailable repeat functions vary depending on the disc.1. During playback, press [REPEAT].2. Use [] to select the desired
EN - 288.6. PiP (BONUSVIEW™) SettingSome BD-videos have the PiP function which enables you to display the Secondary Video in the Primary Video.1. Duri
EN - 29EN8.8. Title / Chapter Search Using [(SKIP)] / [(SKIP)]1. During playback, press [(SKIP)] to Skip the current Title or Chapter and move to the
EN - 3EN1. INTRODUCTION1.1. Safety InstructionsTo Avoid the Hazards of Electrical Shock and Fire• Do not handle the AC power cord with wet hands.• Do
EN - 308.10. Time Search1. During playback, press [MODE] to display the Play Menu.2. Use [] to select “Search”, then press [OK].• For video files on D
EN - 31END Note• Some discs will only allow you to change the subtitles from the Disc Menu or Pop Menu. Press [TOP MENU] or [POP MENU/MENU] to display
EN - 328.13. Switching Camera AnglesSome BD-videos and DVD-videos contain scenes which have been shot simultaneously from various angles. You can chan
EN - 33EN8.15. Noise ReductionReduces the noise of the playback picture.1. During playback, press [MODE] to display the Play Menu.2. Use [] to select
EN - 349. NETWORK FEATURES9.1. Before Using Network FeaturesPlease follow the instructions below before using network features.1. Connect this unit to
EN - 35EN10. LIST OF SETTINGSIn “Settings”, you can customize various kinds of settings as you prefer.Refer to the following instructions to navigate
EN - 36Category Menus / OptionsPlayback Language AutoEnglishEspañolFrançaisAudioOriginalBulgarian ItalianChinese JapaneseCzech KoreanDanish NorwegianD
EN - 37EN* When “Quick Start Mode” is set to “On”, power consumption during Standby mode will increase.Category Menus / OptionsOthers Software Update
EN - 3811. SETUPS11.1. Network ConnectionPerform the network connection setup in order to use the network features, such as BD-Live™, DLNA home media
EN - 39ENManual (Wired)In the following cases, select “Manual” to set each setting as necessary.- When connection test failed with the setting of “Aut
EN - 42. FEATURES2.1. FeaturesBlu-ray Disc™You can enjoy Blu-ray Disc™ which is capable of storing five times more data than a conventional DVD.BD-Jav
EN - 4010. Press [RED] to go to the “Proxy Port” setting screen. 11. Enter the proxy port number using the NUMBER buttons, then select “OK”, then pres
EN - 41END Note“Easy Connect (WPS)” cannot be used when the Security mode of your Access Point is set to “WEP”.Please try either method below.• Connec
EN - 42D Note• The internal wireless LAN supports following specifications.- Wireless standards: IEEE 802.11 b/g/n- Frequency: 2.4 GHz- Security proto
EN - 43EN11.2. fun-Link (HDMI CEC)fun-Link (HDMI CEC) allows integrated system control over HDMI and is part of the HDMI standard. This function may n
EN - 4411.4. ParentalSome BD-videos or DVD-videos feature parental lock levels. Playback will stop if the ratings exceed the levels you set, it will r
EN - 45EN DVD Rating Level1. Use [] to select “Settings” in the Home Menu, then press [OK].2. Use [] to select “Playback”, then press [OK].3. Use []
EN - 4611.5. Software UpdateThis unit lets you update the software yourself using a software update disc, USB Memory Stick or via the Internet.The ava
EN - 47ENC Caution• Please do not unplug the AC power cord, LAN cable, wireless modem / router or press [(POWER-ON)] to turn the unit to Standby mode
EN - 4812. TROUBLESHOOTINGProblem TipNo power. Check the AC power cord, if it is properly connected.Try another power outlet.Unplug the AC power cord,
EN - 49ENCannot play back a disc. Make sure that the disc is playable on this unit.Check the region code of the disc. This unit supports the following
EN - 5ENVUDUThis unit supports VUDU which is the leading HD on-demand video service. With VUDU, you can also enjoy various kinds of Internet applicati
EN - 50Cannot load a Blu-ray Disc™ (stuck in “Loading…” mode) and cannot Open the disc tray to eject the disc.Unplug unit from AC outlet for 20 second
EN - 51END Note• Do not attempt to repair the Blu-ray Disc™ Player yourself. This may cause severe injury, irreparable damage to your Blu-ray Disc™ Pl
EN - 5213. LANGUAGE CODE LISTD Note• If you choose a language that has a 3-letter-language code (written in bracket), the code will be displayed every
EN - 53EN14. SPECIFICATIONSD Note• The specifications and design of this product are subject to change without notice.GeneralSignal system NTSC ColorP
EN - 5415. NETWORK SERVICE DISCLAIMERContent and services made available through this product are transmitted by third parties by means of networks an
EN - 55EN16. MAINTENANCE Servicing• Please refer to relevant topics on “TROUBLESHOOTING” on page 48 before returning the product.• If this unit becom
EN - 5617. TRADEMARK INFORMATIONManufactured under license from Dolby Laboratories. Dolby and the double-D symbol are trademarks of Dolby Laboratories
EN - 57EN is a trademark of DVD Format/Logo Licensing Corporation.“Blu-ray Disc™”, “Blu-ray” and “Blu-ray Disc™” logo are trademarks of the Blu-ray Di
EN - 5818. GLOSSARYAACSAdvanced Access Content System (AACS) is the content protection scheme used with Blu-ray discs.Analog AudioAn electrical signal
EN - 59ENJPEG (Joint Photographic Experts Group)JPEG is a method of compressing still picture files. You can copy JPEG files on BD-RE/-R, DVD-RW/-R, C
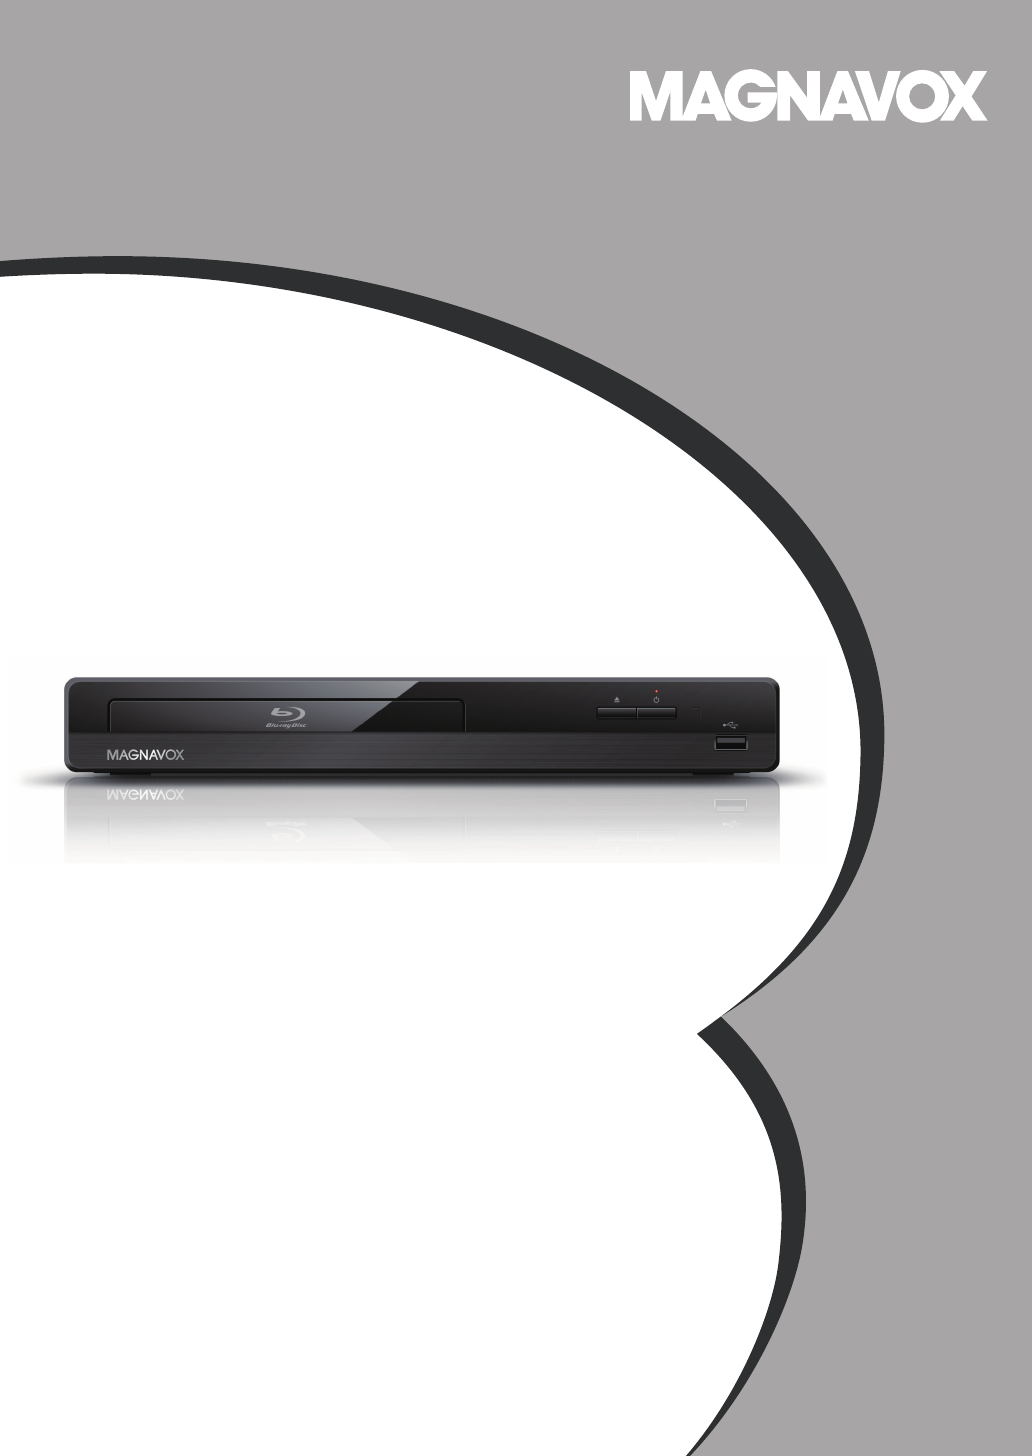
EN - 63. FUNCTIONAL OVERVIEW3.1. Front Panel* The unit can also be turned on by pressing this button.1. Disc tray2. (OPEN/CLOSE) button*3. (POWER-ON)
ES - 6019. ESPAÑOL19.1. Mando a Distancia* La unidad también se puede encender pulsando estos botones.1. Botón (ENCENDIDO)• Pulse el botón para encend
ES - 61ES19. Botón (SALTAR)• Durante la reproducción, púlselo para saltar al siguiente capítulo, pista o archivo.• Cuando la reproducción esté en modo
ES - 6219.3. Instalacion InicialPor favor, siga las instrucciones que se exponen a continuacion para completar la configuracion inicial.1. Utilice []
LIMITED WARRANTYFUNAI CORP. will repair this product, free of charge in the USA in the event of defect in materials or workmanship as follows:DURATION
EN - 7EN3.3. Remote Control*The unit can also be turned on by pressing these buttons.1. (POWER-ON) button• Press to Turn On the unit, or to switch the
EN - 823. ANGLE button• Press to access various camera Angles on the disc.24. REPEAT button• Press to select Repeat mode.25. DISPLAY button• Press to
EN - 9EN3.4. Guide to On-Screen Display Home MenuWhen you Turn On the unit, Home Menu will appear automatically. Otherwise, press [HOME]. Network St
Verwandte Produkte und Handbücher für Blu-Ray-Player Magnavox MBP5320


 (148 Seiten)
© 2020, manymanuals.de. Alle Rechte vorbehalten. | 1.755 s |
 Manymanuals.com
 Manymanuals.de
 Manymanuals.fr
 Manymanuals.it
 Manymanuals.pl
 Manymanuals.cz
 Manymanuals.es
 Manymanuals-pt.com
Kommentare zu diesen Handbüchern